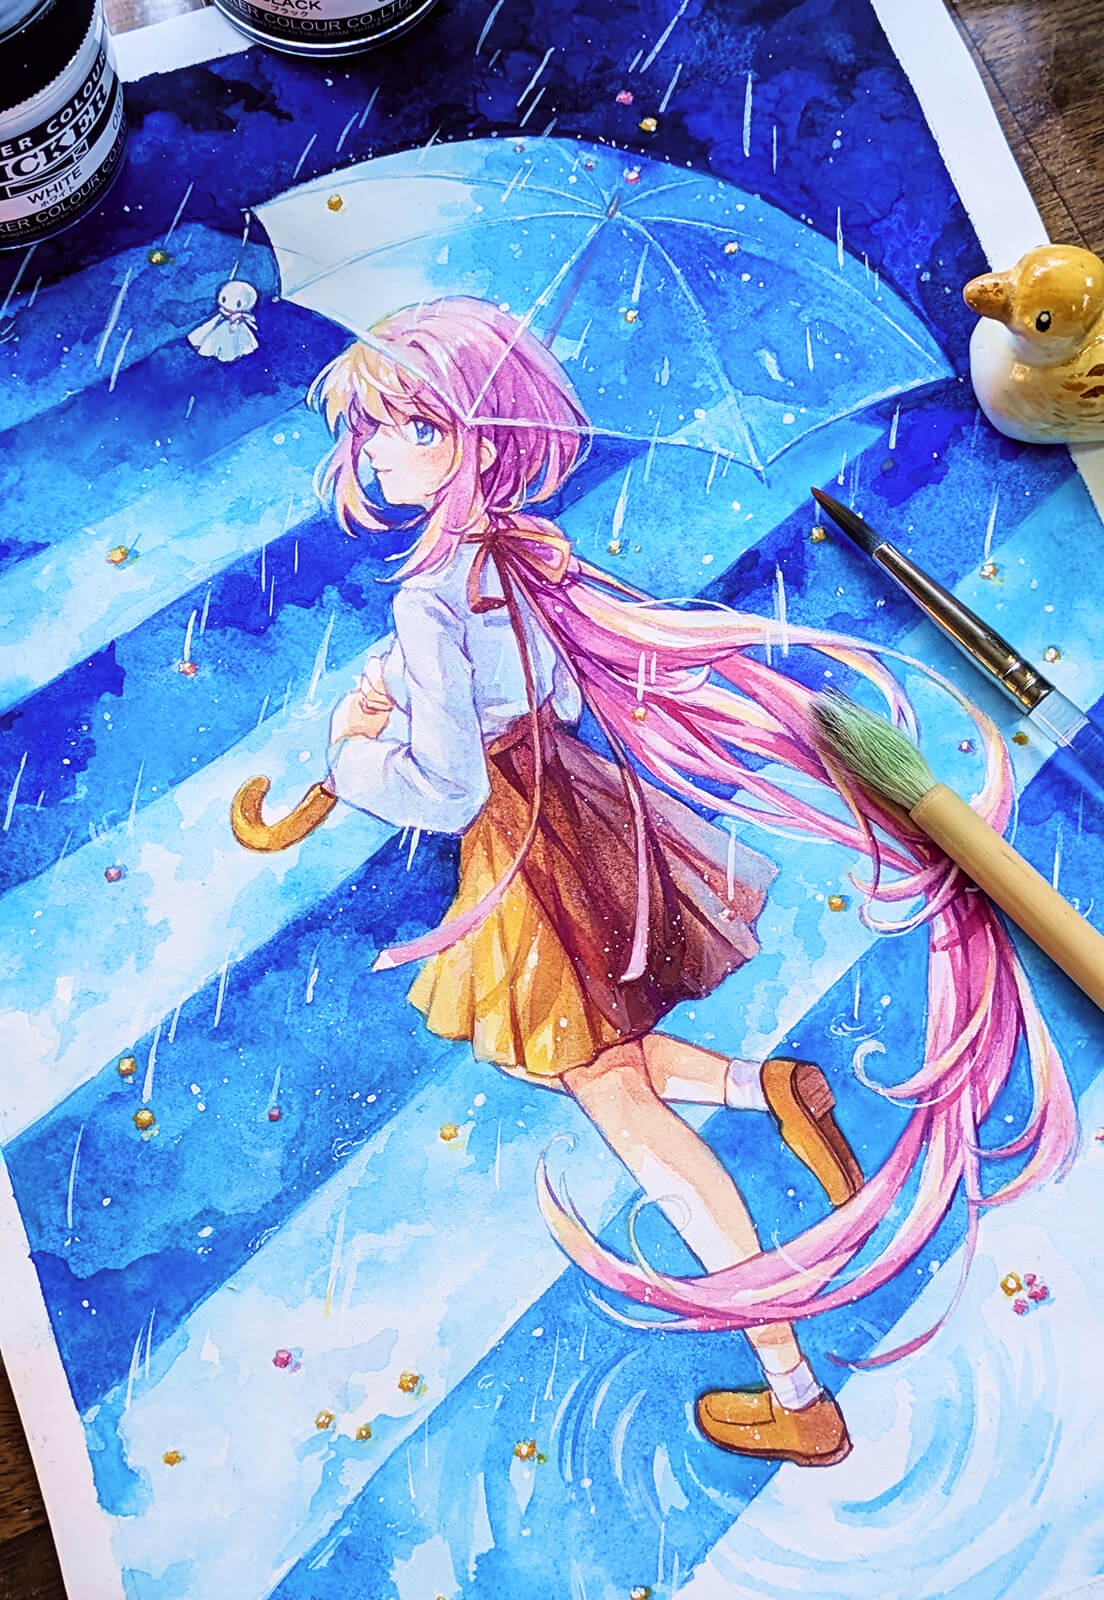


Rain is a common theme that I come back to, because I love rainy days so much. I’ve also had the tiny star candies stuck in my brain for a while now and have been wanting to paint them with rain for ages. Finally got around to it!
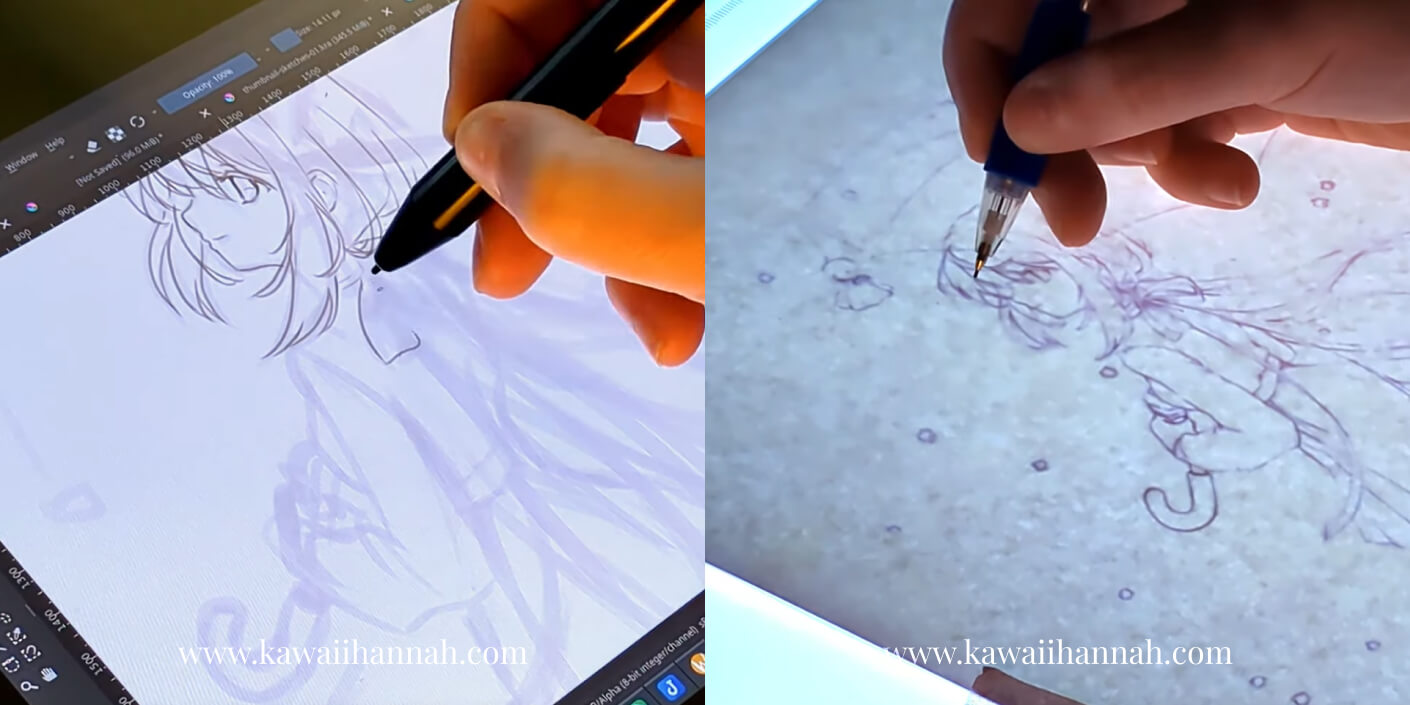
Creating the line art and initial concept
I’ve made a few attempts at this idea over the last year or so, but none got past the thumbnail stage. I realised in this case that it was because I was just trying to shove too many things into the one artwork. Rain means hydrangeas and I wanted to “collect” the konpeito, but also have an umbrella and that’s a lot to try and include in a single picture.
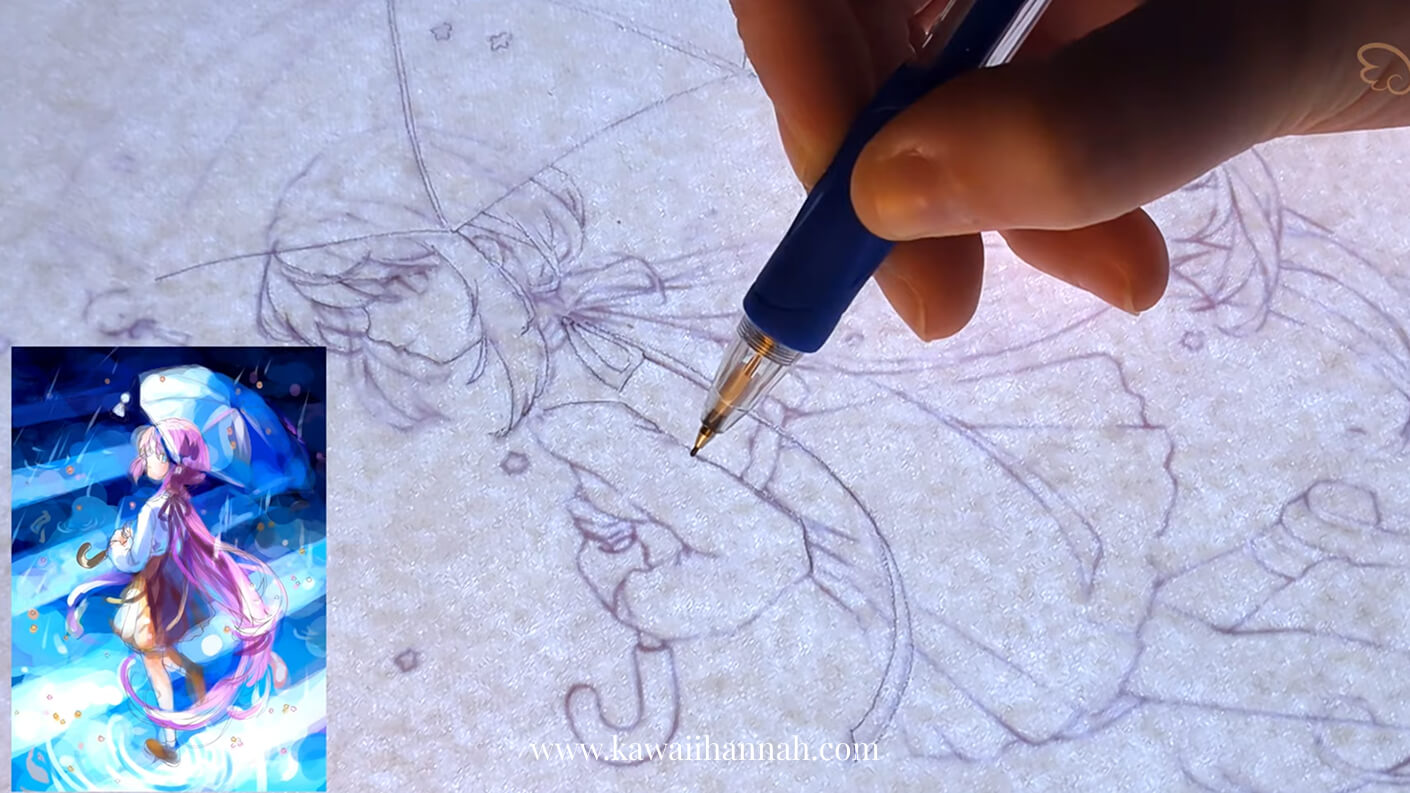
So I pulled it all back to the core idea, which was rain and konpeito. This meant the umbrella made sense and while I could also have included the hydrangeas, a simple zebra crossing with a sky reflection would serve the overall picture a bit better.
Painting the background
Setting up
For this piece and many of the traditional pieces I do, I start out digitally. This is not always the case, but I would say it’s most of the time for me. It allows me to try things quickly, to easily rotate or resize elements and try colour schemes without using up a bunch of paper.
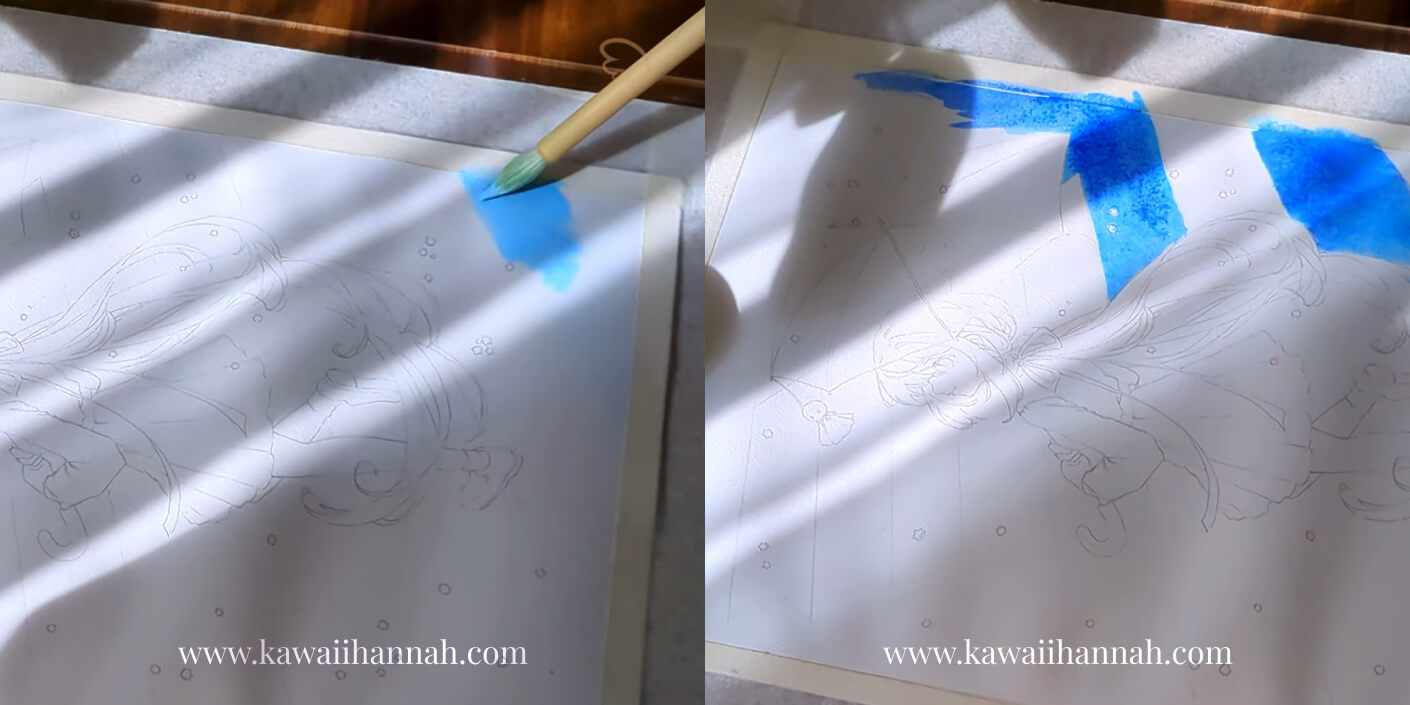
I didn’t pre-stretch the paper for this one, but have attached it to an acrylic board using some masking tape and then spread water across the whole paper with a clean paintbrush. Not a huge amount of water, just enough to get the paper wet so I can start the initial background washes.
The background
For many of my paintings like this, I would ordinarily mask out the character using masking fluid. But I wasn’t sure how the paper would hold up to this and with gouache and poster colours, you can layer light colours over darker ones. This is completely the opposite to watercolours!
The background took quite a while to complete - sometimes it’s hard to know exactly how dark or light it needs to be in contrast to the character. This is where the colour concept comes in quite handy, but it’s always just a little bit different.
I used mixes of cerulean blue, cobalt blue, black and white for the background colours, working in a gradient from cerulean blue to cobalt blue and black for the darker areas and white, cerulean blue and cobalt blue for the lighter areas. You can see that I used some cloud-like textures in the background to give that sort of reflection of the sky and included ripples as I was painting for where her foot would hit the ground. Probably also should have included a reflection of her shoe, but oh well!
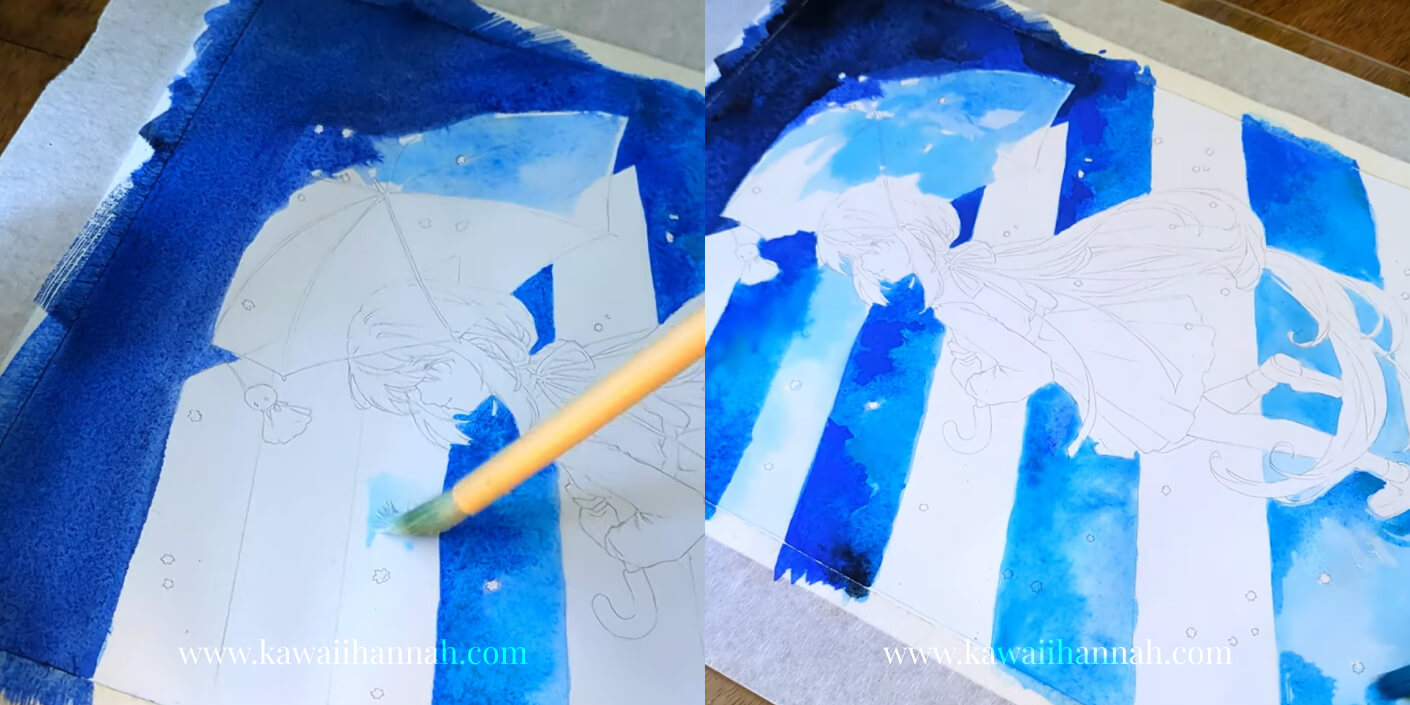
You can see how vibrant the poster colours are turning out just in the background. It’s very satisfyingly saturated, which made it a joy for me to paint with! I noticed they run very smoothly too, even more so than my holbein gouache. It’s hard to explain what that means, but I notice it even when I’m adding the colours to my palette.
One thing I noticed where I just finally had enough and decided to call it “done” is that I should have used more paint in some of those early layers. I’m still struggling with this coming from watercolours where I can just keep layering up the background colours in many washes. Something for me to keep practicing next time!
Once the background was done, I decided to remove the masking tape early. The tape had been on the paper for several days at this point aaand I’ve had it tear the paper before when I’ve left it too long. There aren’t any character details close to the edges, so I just decided to remove the tape and then focus on the character.

Painting the character
At first I wasn’t sure what colours to use for the girl - she’s not an OC or anything, just a random character with whatever clothes and hair I felt like drawing at the time.
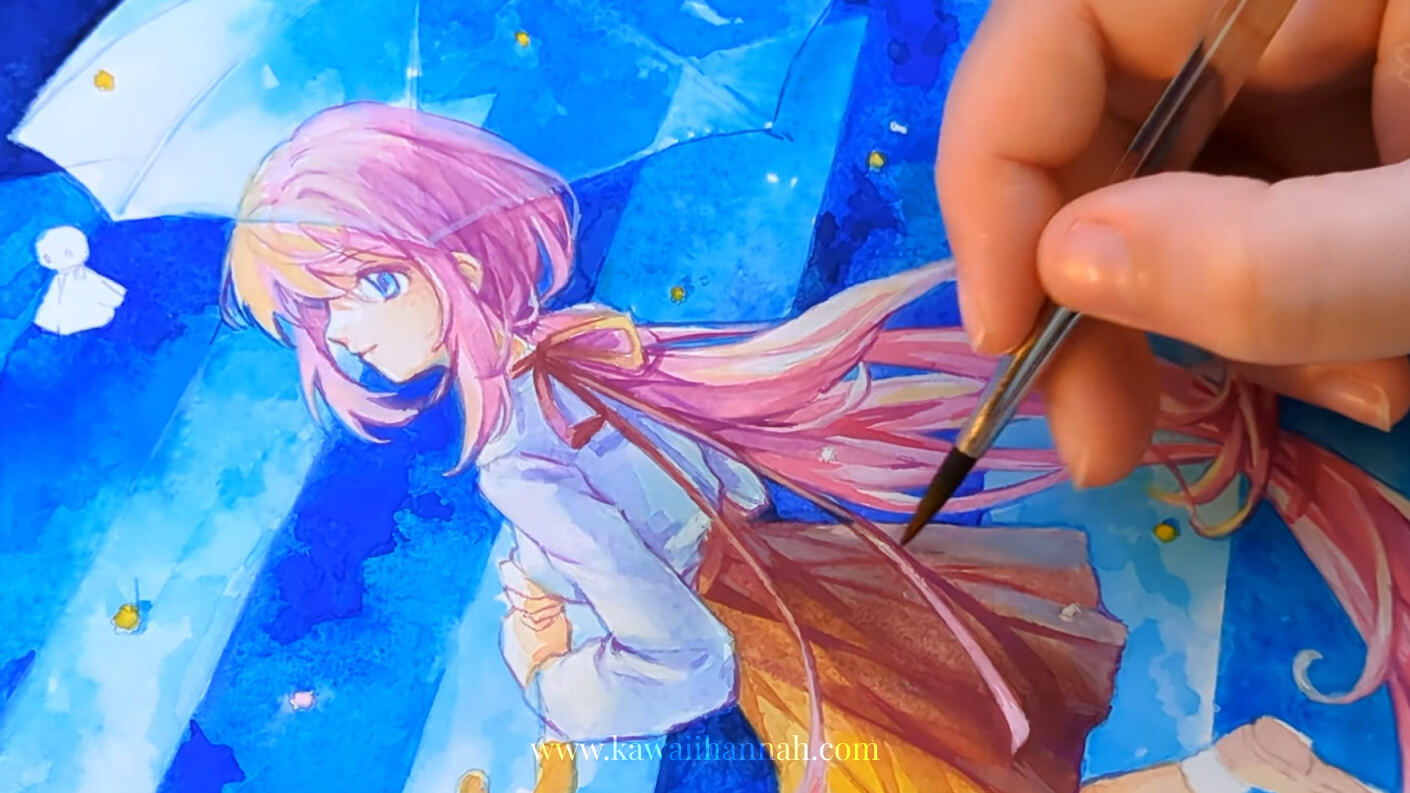
Usually, I work through more thoughts on a character as I paint a piece, or while choosing colours in the colour concept. In this case, I decided she’s a bubbly girl, just making her way through the rain and just enjoying it for what it is! I did make the rain doll hanging where you hope for sunny skies, because I thought if it was truly raining konpeito, that would be like hail and that hurts when it hits you xD
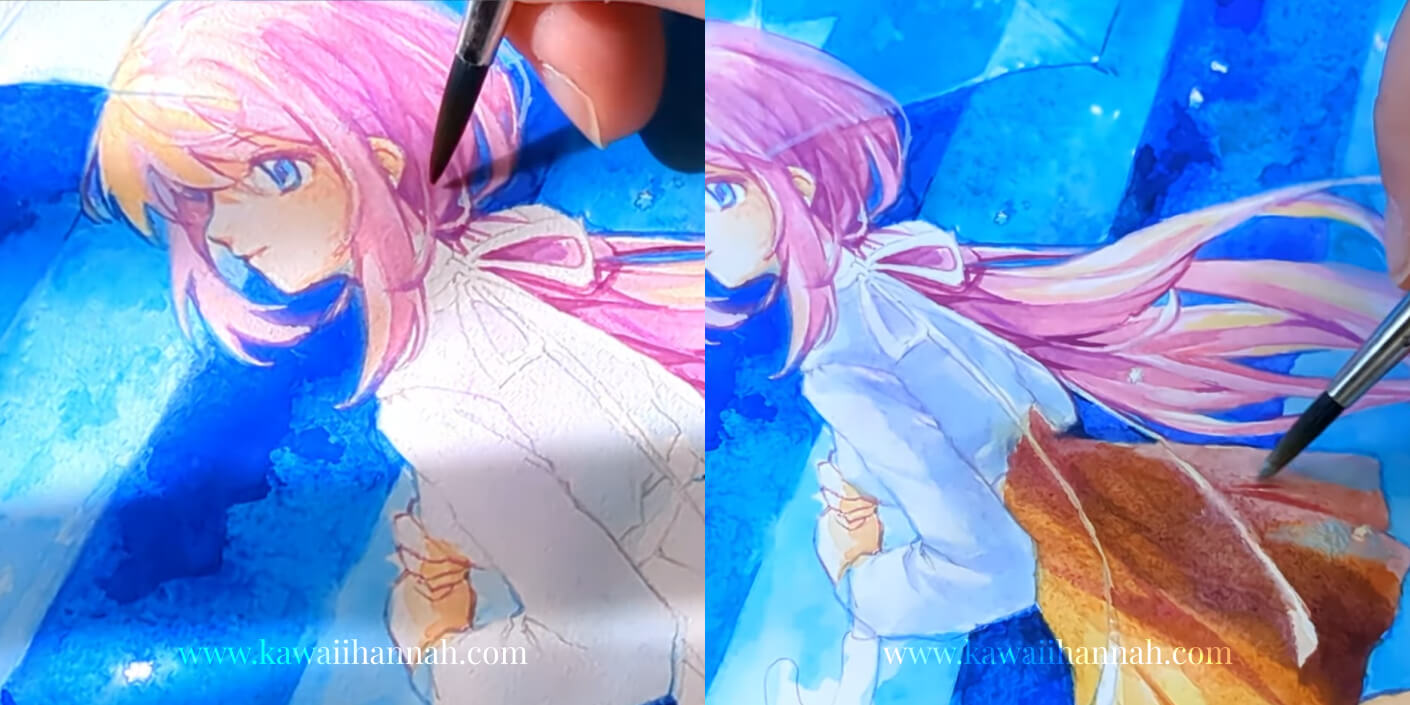
I decided on pink hair and a warm toned skirt, which would help to contrast with the blue background and show that bubbly personality. To make it look warm, I started out with a nice yellow tone, then worked in orange and burnt sepia so it would be bright and not muddy. This was difficult to balance with the blue bounce light that I insisted on adding on the right side of her skirt. I struggled so much with the skirt folds and you’ll see that I added several layers before I finally got some semblance of happiness with them.
Finishing touches
Finishing touches are usually one of my most favourite parts of a piece, but this one had been a bit of a long slog.
I started it the previous weekend, but because I was filming the process, I couldn’t really film it after work, because the lighting in my study is terrible. You can see it as it gets darker in parts of the video and then brighter again when I pick it up the next day xD I attempted filming at night, buuuut had to scrap that footage (hence the bit of a gap). So I ended up waiting to finish it until the next weekend.
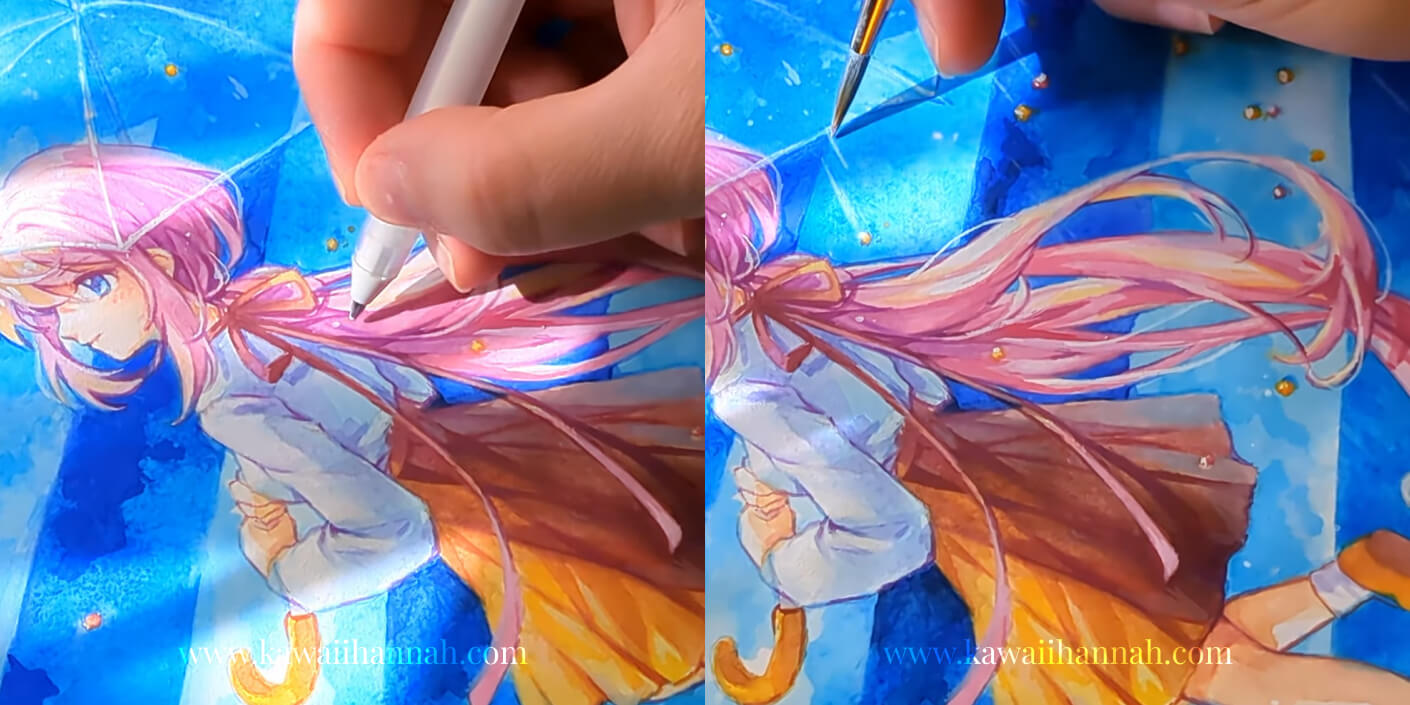
I added several little strands of loose hair flowing around the existing shapes, added the drops of rain and highlighted some of the konpeito. Then added those obligatory tiny white dots around which always seem to breathe some life into a drawing for me.
And that’s it! It was a nice, simple piece and even though it was stretched out over a longer period of time, I really enjoyed the process and the colour scheme.